NetBeans
NetBeans is an IDE or Integrated Development Environment. It is FREE, open source, and has a worldwide community of users and developers.
It allows for quick and easy development of desktop, mobile and web applications with Java, JavaScript, HTML5, PHP, C/C++ and more.
Installation
First of all we need to install the latest version of the Java Development Kit (JDK). Once finished, we can download and setup NetBeans.
Downloading the Java Development Kit
First we need the latest version of the Java Development Kit (JDK).
Navigate to https://www.oracle.com and select Downloads.

Scroll down to the Java section and select Java (JDK) for Developers.

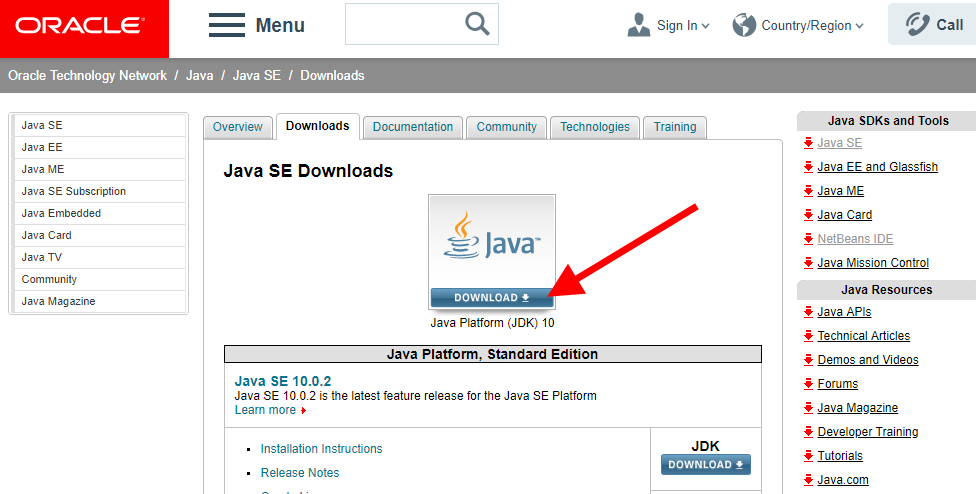
Now select Download below the Java symbol to download the latest stable version of the JDK (currently 10.0.2).
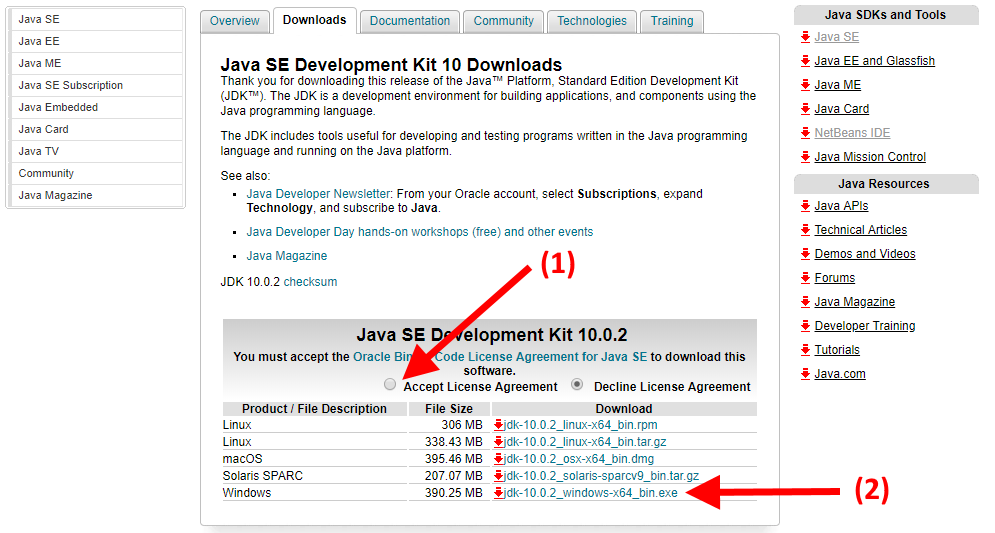
Last you need to accept the license agreement and download the Windows binary.
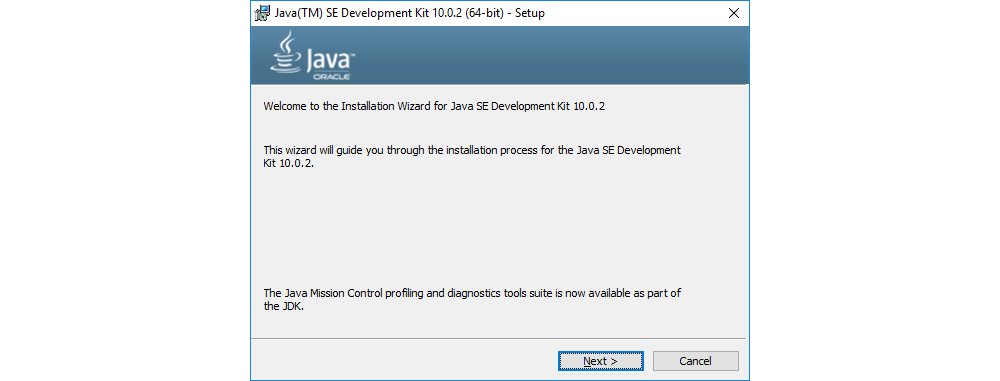
JDK Installation Wizard
Once fully downloaded you can start the installation wizard. Click Next to continue.
Keep the default selected features and click Next.
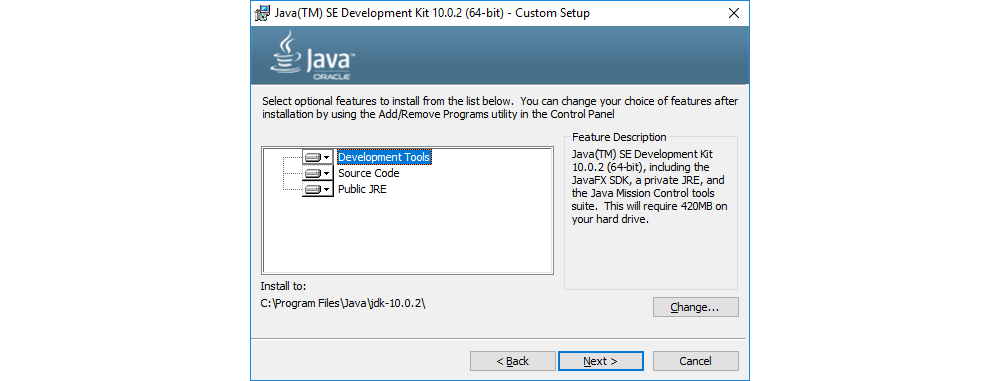
Be sure to make a note of where the JDK is being installed. We need it later on.
Clicking Next will open the JRE (Java Runtime Environment) install wizard.
Leave the Java path as is and click Next.
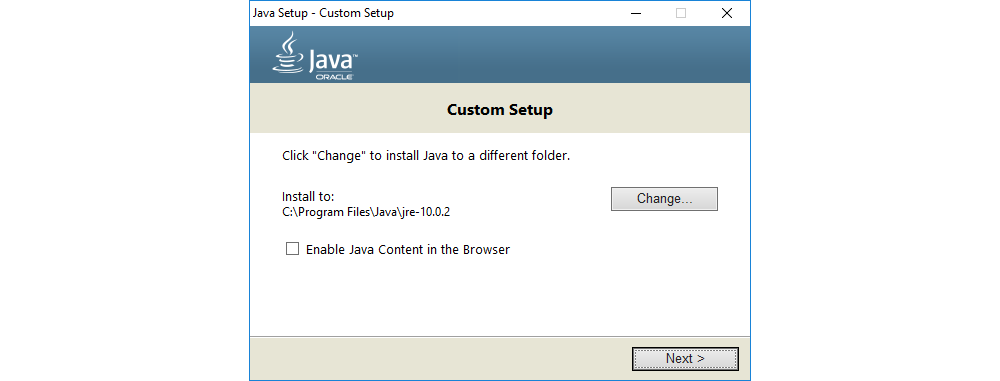
The installation should end successfully.
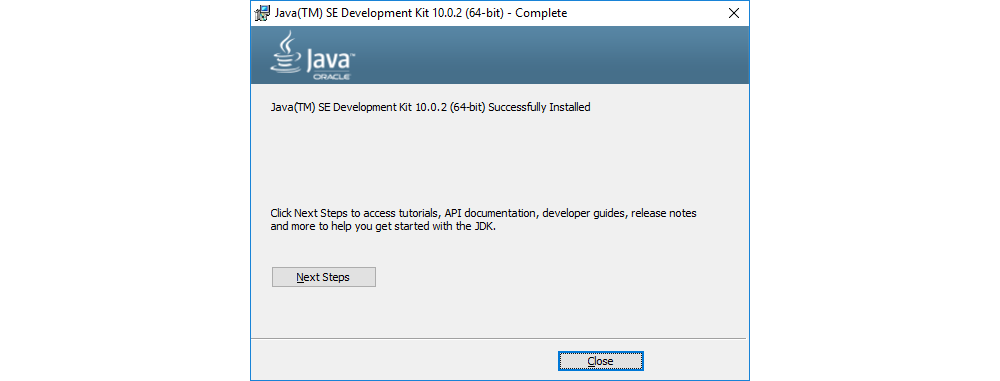
Click Close to finish the installation.
Downloading NetBeans
Currently the latest version of NetBeans is not available as an installer. It can only be downloaded as an extractable zip file. This is because NetBeans is trying to join the Apache Software Foundation (ASF) and is currently undergoing incubation.
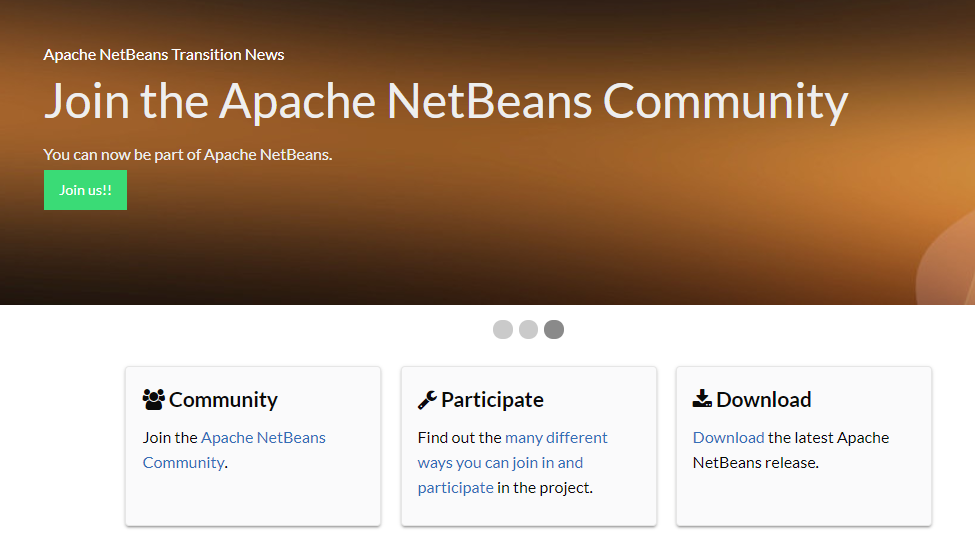
To fetch the binaries, navigate to http://netbeans.apache.org/ and select Download.
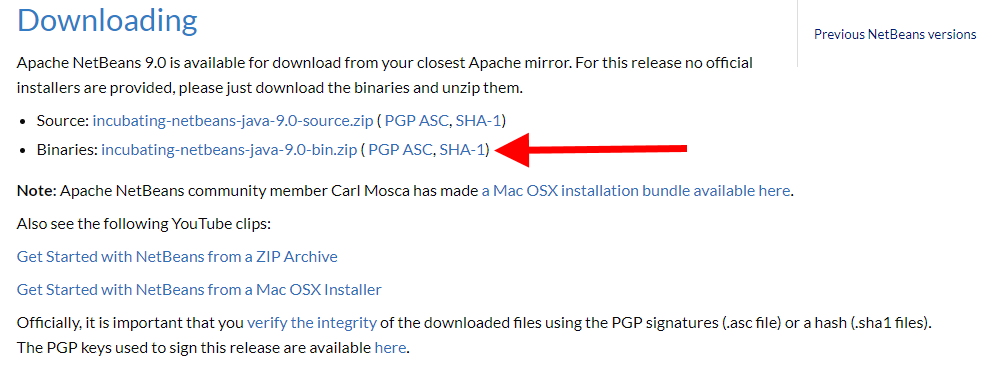
Navigate to the "Downloads" section and click the link for Binaries.
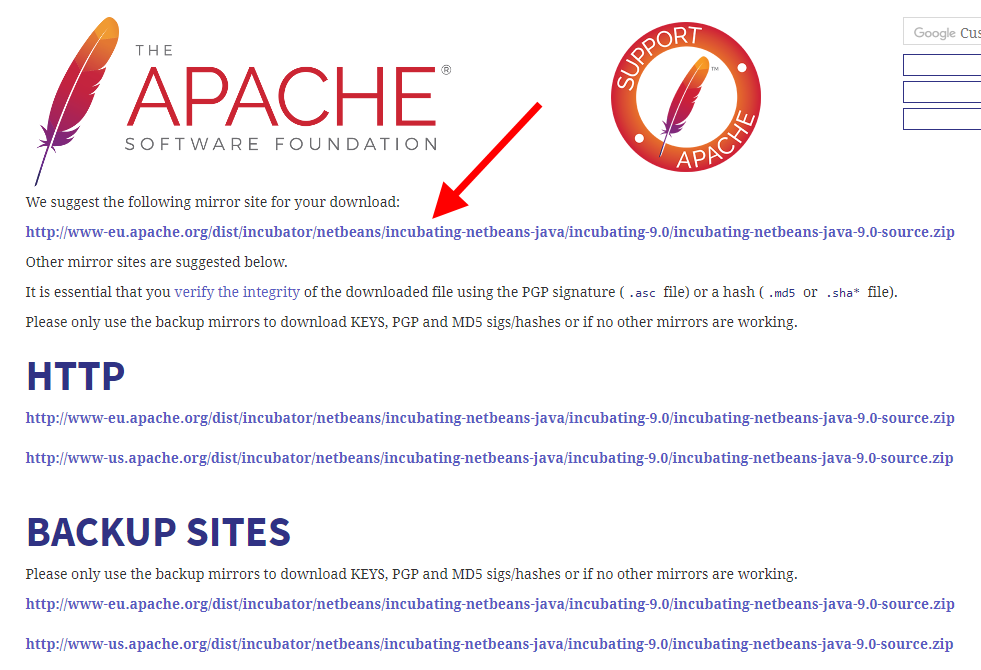
Select the default mirror to download the zip-file from. If your download does not start, try another mirror.
Extracting NetBeans
Once the download is finished, extract the zip-file where you downloaded it. You should get a directory or subdirectory called netbeans. Move it to your c-drive, C:\Program Files or somewhere else where you install your applications.
Once moved, create a shortcut (drag netbeans64.exe and hold ALT or right click and select Create shortcut) from netbeans/bin/netbeans64.exe to your desktop or start-menu. Right click the shortcut and select Properties.
Select the Shortcut tab and add the java JDK path behind the name of the target as shown below:
"C:\Program Files\netbeans\bin\netbeans64.exe" --jdkhome "C:\Program Files\Java\jdk-10.0.2"
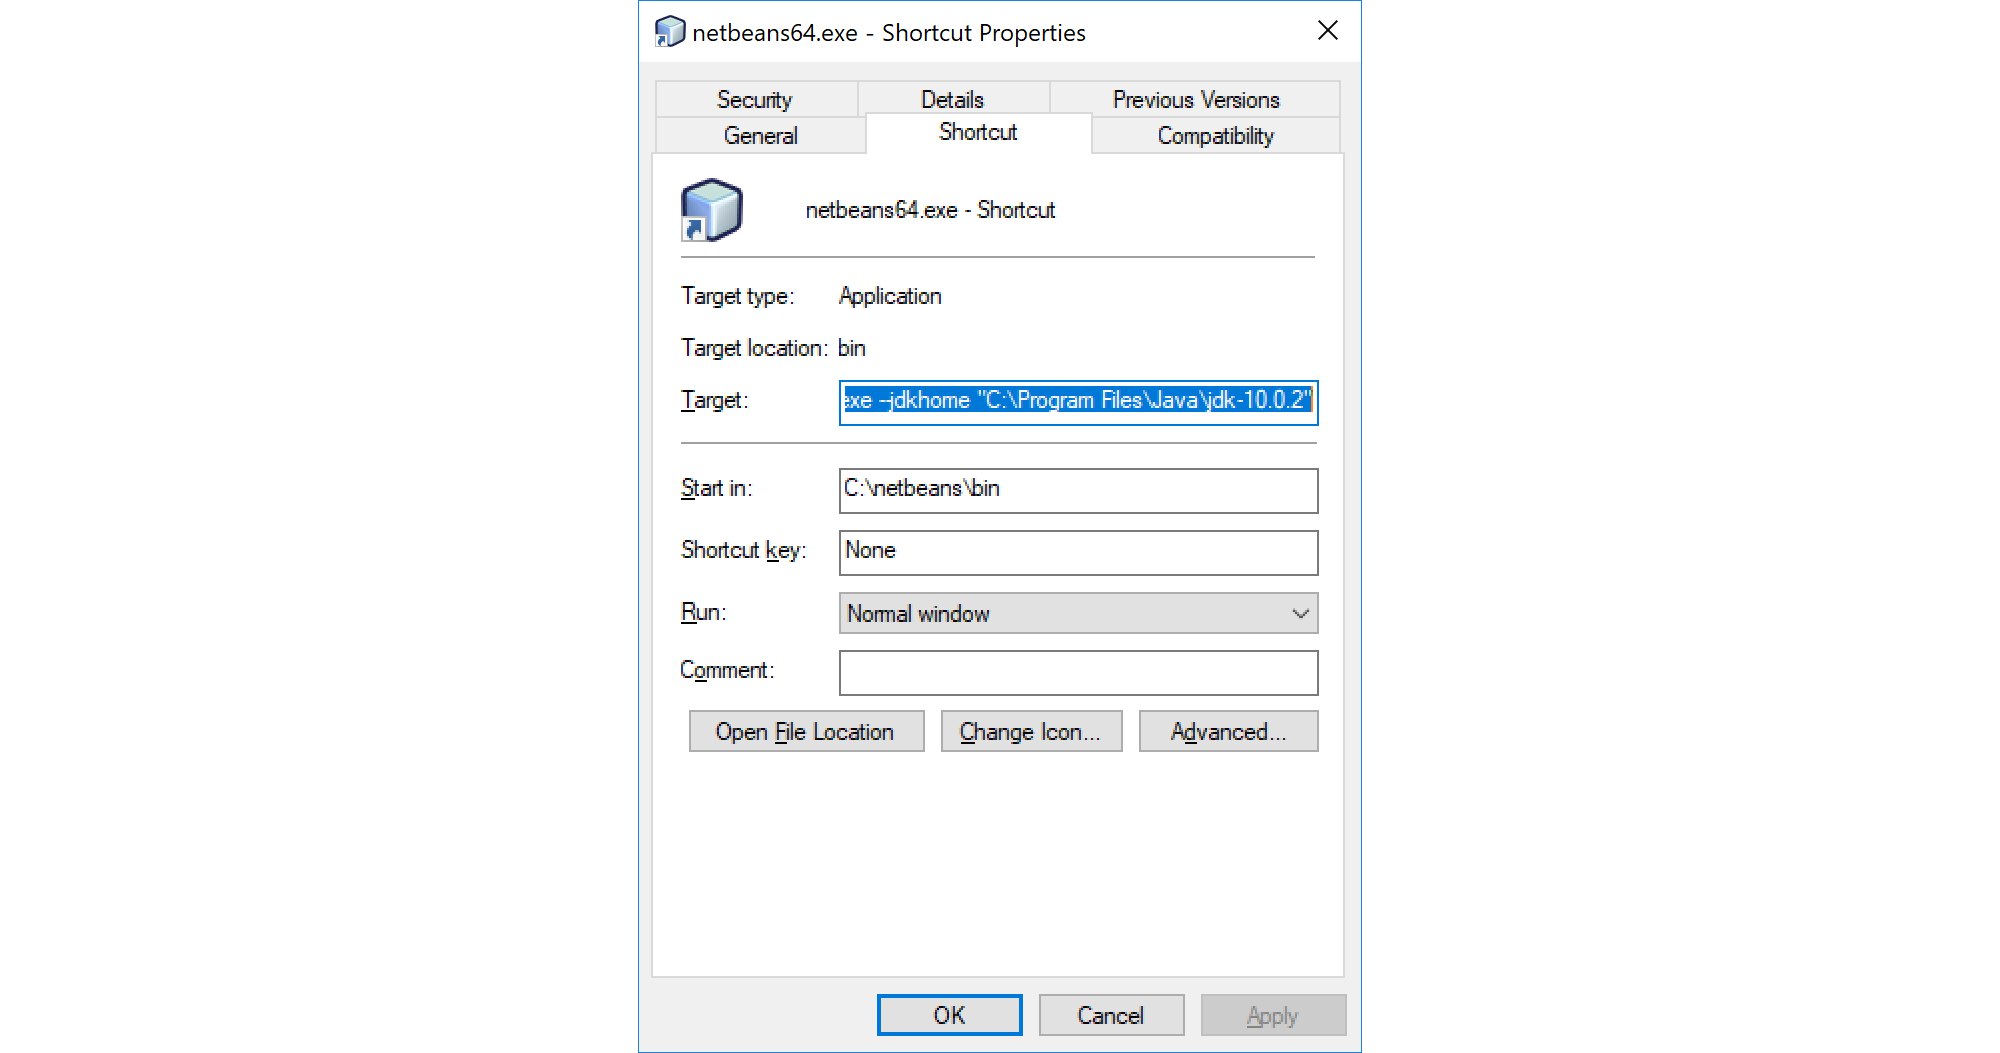
Once added, hit Apply and OK to save the shortcut.
Test installation
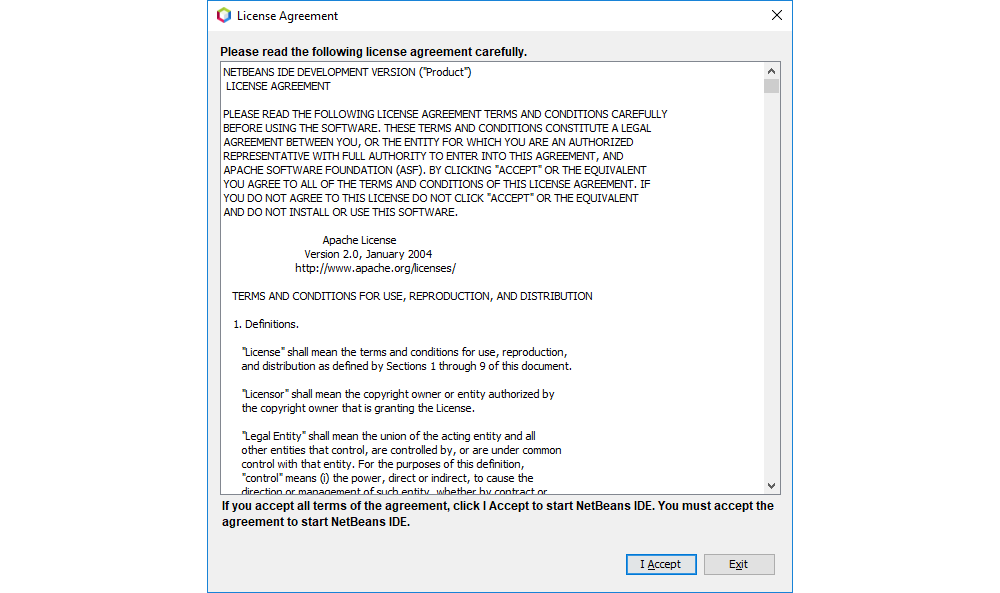
To test if your installation was successful launch the NetBeans IDE via the created shortcut. First time launching you should get the license agreement screen. Accept it.
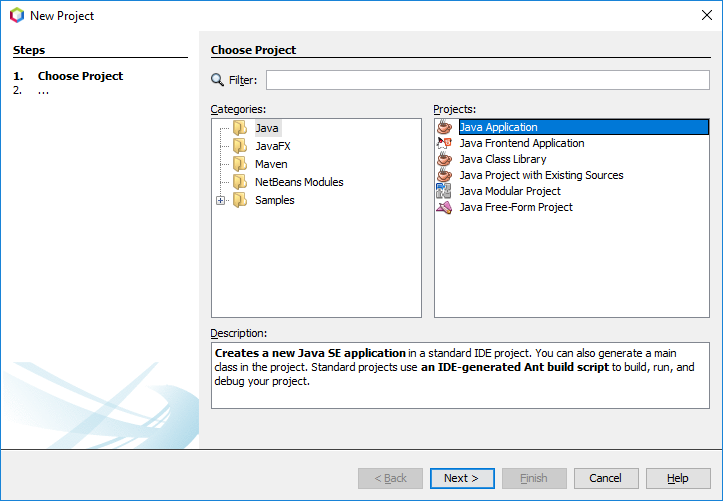
Let us create a simple "Hello World" application in Java. Start by navigating to File => New Project. Make sure you selected Java - Java Application. Click Next.
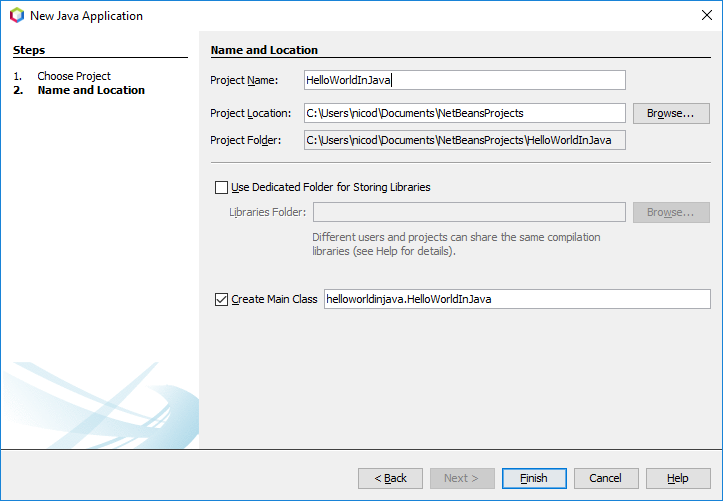
Give your application a decent name such as "HelloWorldInJava". For the moment you can leave the default project location as is and click Finish.
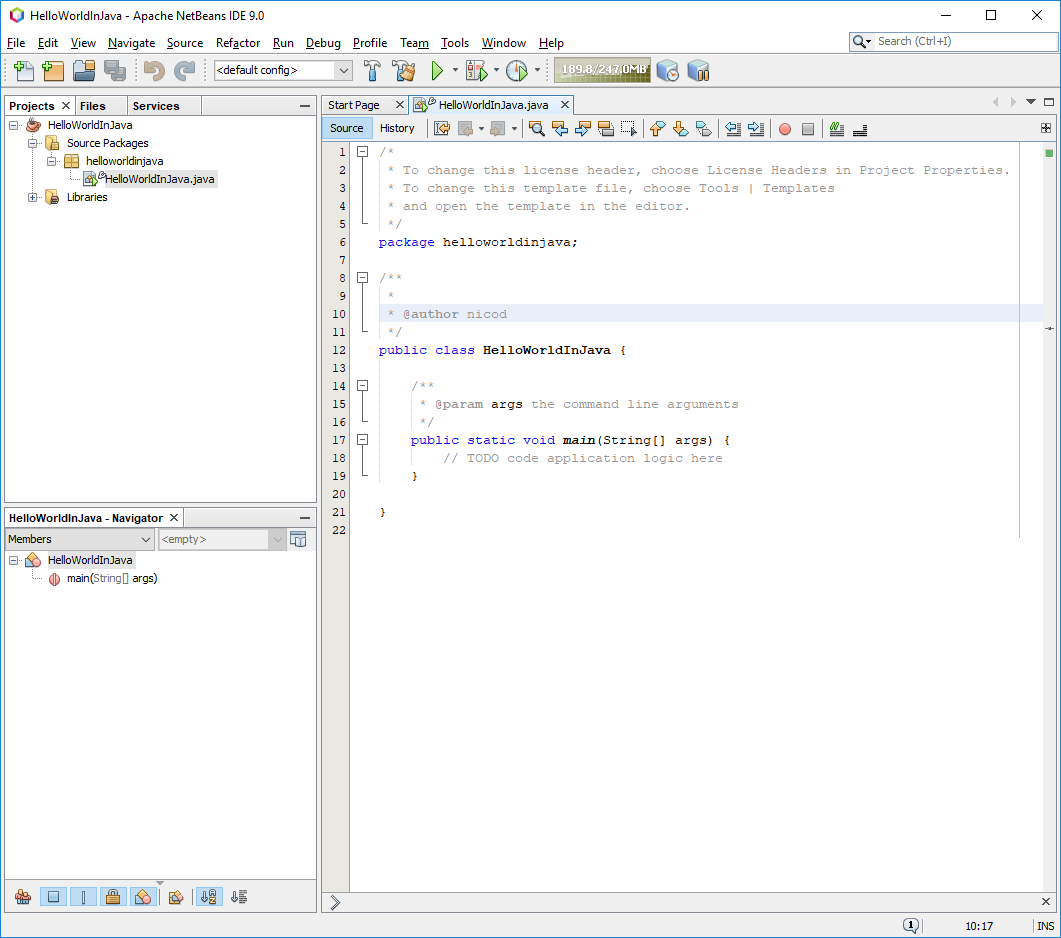
Now you should see a code window with some readily generated Java code.
This however does not do anything. To make the program say hello to the world you should change the code between the curly braces {} as shown below.
public class HelloWorldInJava {

    /**
     * @param args the command line arguments
     */
    public static void main(String[] args) {
        // Say hello world in Java
        System.out.println("Hello World!");
    }

}
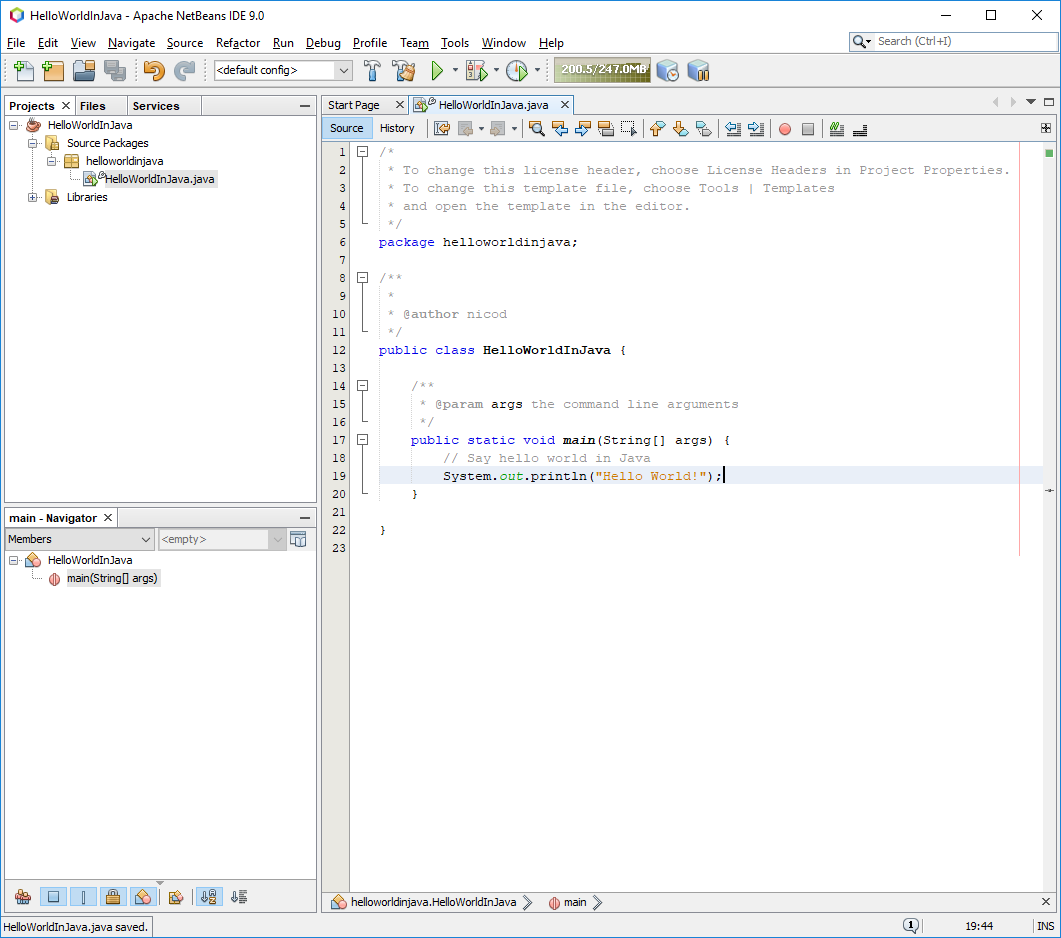
Next hit the big green play button in NetBeans or press F6 on your keyboard to run the program. You should see the message at the bottom of the screen in the terminal window.

Well you are of to conquer the world with your program skills. Happy hacking.