GIT
Git is a free and open source distributed version control system designed to handle everything from small to very large projects with speed and efficiency.
Setup
Downloading Git
- Go to www.git-scm.com
- Click on "Downloads for Windows"


Installation Wizard
Start the wizard by executing the installer and follow the steps of the installation wizard.

You can keep the default destination location, just click next.

Note: Installation settings
Unselect "Windows Explorer integration" and click next.


Note: Installation settings
Select "Use Git and optional Unix tools from the Windows Command Prompt".

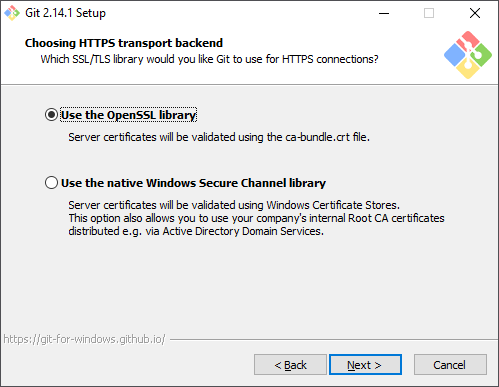
Leave the option to use the "OpenSSL library".

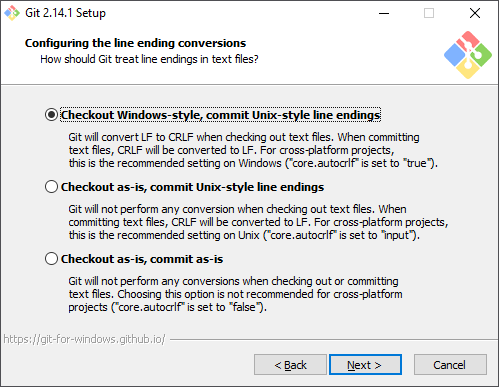
Leave the configuration of line encoding conversion default, and click next.

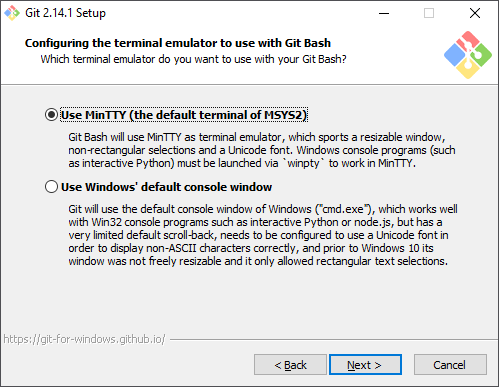
Leave the configuration of the terminal emulator default, and click next.

Extra options can be left at default values.

The wizard will now install Git.

When everything is done, you can finish the installation wizard.

Testing installation
In the Windows start menu, search for the "Powershell" application by typing "Powershell" in the search box.

To test if Git is succesfully installed, type the following command in the powershell console:
git --version
If all goes well, it should tell you the current version of the installed Git, and should not show any errors.

Git is now ready to be used.
Configuration
Name and email
Before you start using git, you should configure your name and email address.

You can do this with the following two commands:
git config --global user.name "John Doe"
and
git config --global user.email [email protected]
Please make sure to change John Doe to your own name, and change [email protected] to your own email address.
You should use your personal email address instead of you school email address. In this way the history you make in git is always credited to you, even if you finish your education.
Extra
Now that git is installed on your system, you should take a look at the following topics: